Enroll a student in a 1:1 course
Add a student to a 1:1 course from the Enroll wizard — choose a course template, pick the student, set the billing plan, and review before enrolling.
Written By WiseApp
Last updated About 2 hours ago
_Last updated: 2026-07-07_
Before you start
A 1:1 course template (or an existing 1:1 course) to enroll into
A billing plan template if you want to bill via a template plan
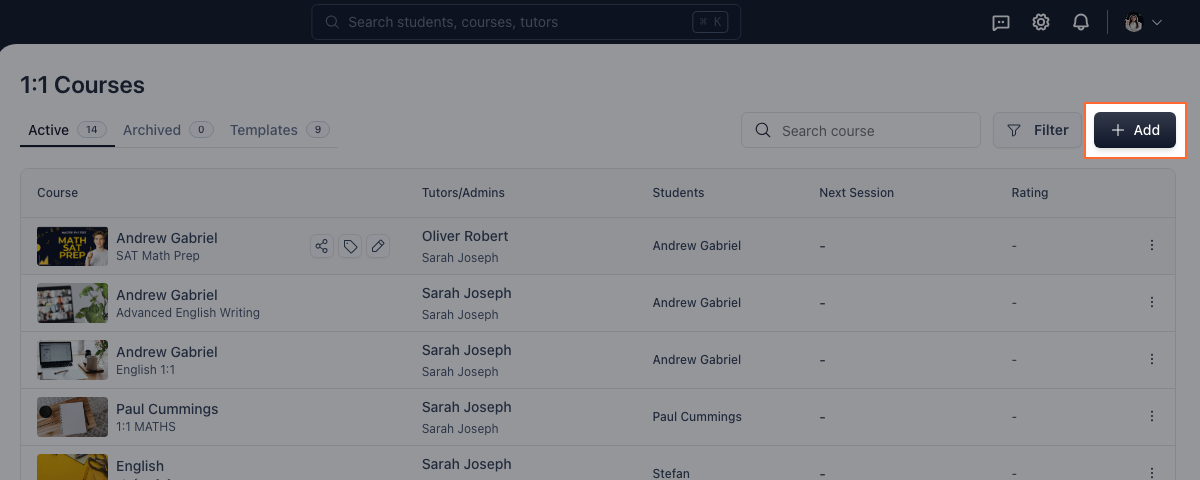
Step 1: Open the Add menu
On the 1:1 Courses page, click + Add at the top right.
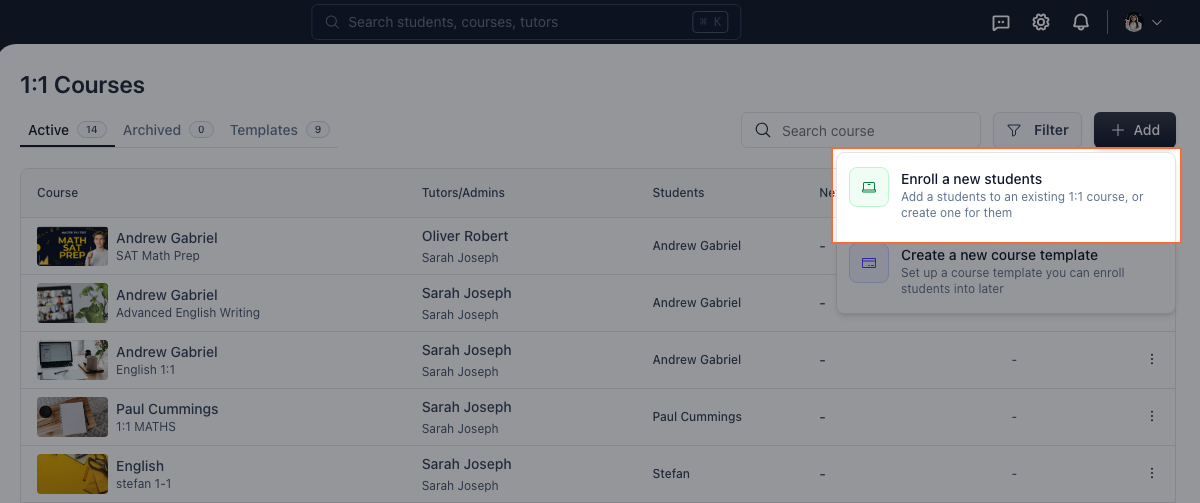
Step 2: Choose Enroll a new students
From the menu, select Enroll a new students to add a student to an existing 1:1 course or create one for them.
Step 3: Choose a course
Search or browse the list of course templates.
Click the template to enroll into — for example SAT Prep- Focus Edition.
Or click + Create a new 1:1 course to start from scratch.
Step 4: Add a new student
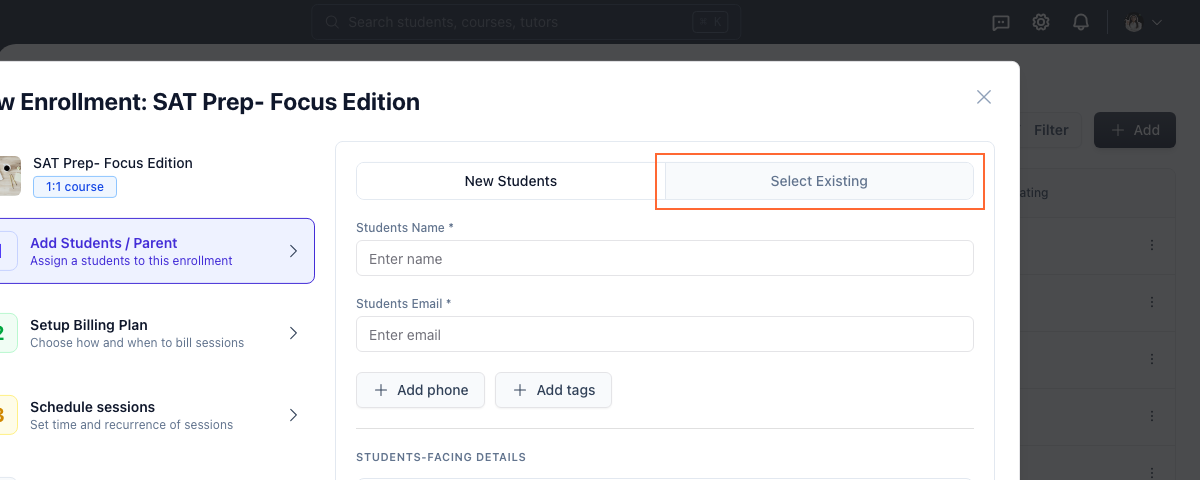
The enrollment wizard opens on Add Students / Parent.
To enroll a brand-new student, fill in Students Name and Students Email.
Phone number and tags are optional.
Step 5: Or select an existing student
To enroll someone who already has an account, switch to the Select Existing tab instead.
Step 6: Pick the student
Click the student's name in the list to select them for this enrollment.
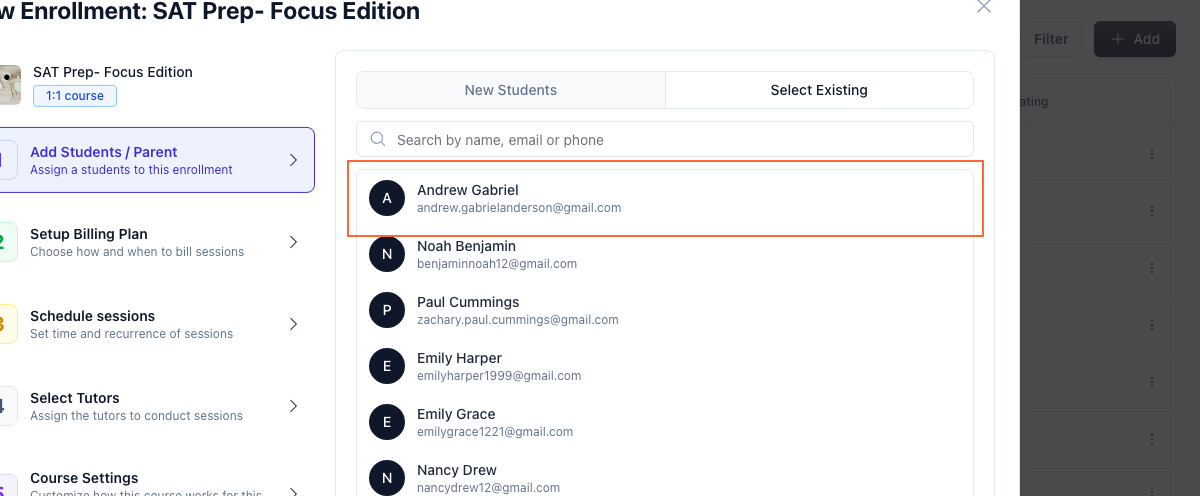
Step 7: Continue to billing
Click Next to proceed to billing and scheduling.
Or click Skip and Enroll Students to finish immediately without setting those up.
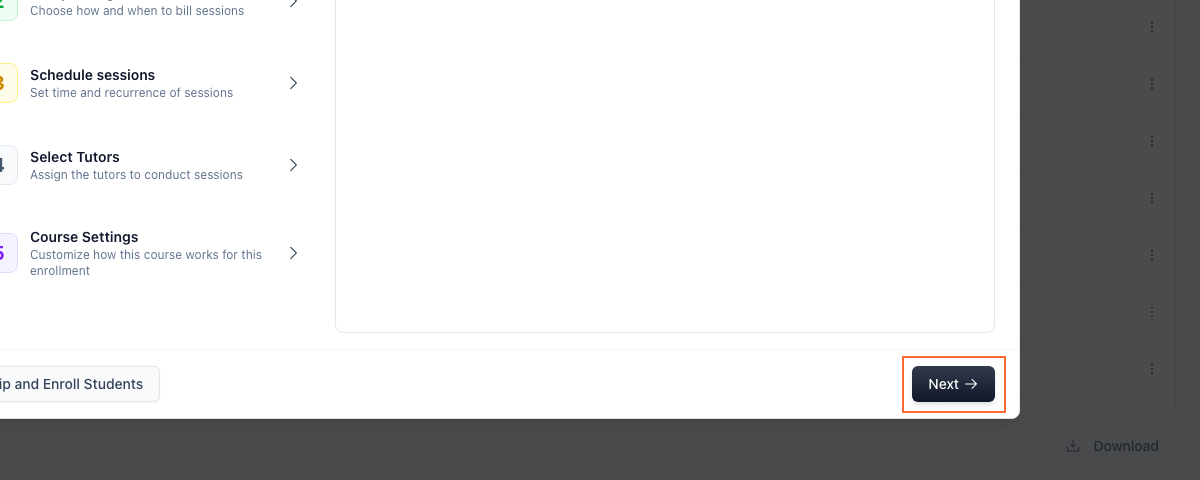
Step 8: Review the billing step
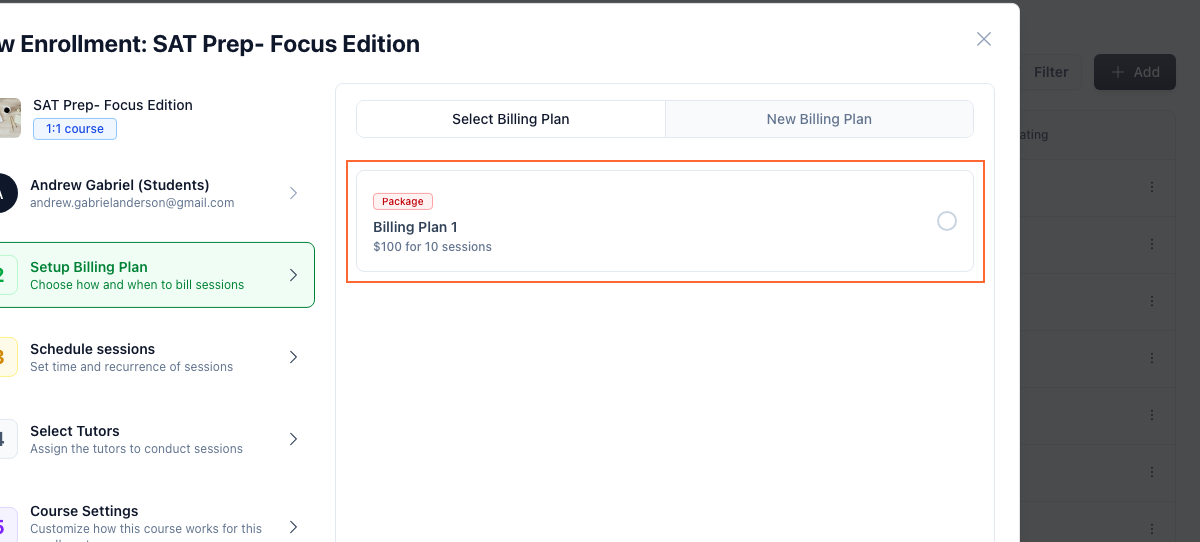
On Setup Billing Plan, choose one of two tabs:
Select Billing Plan — reuse a plan template.
New Billing Plan — configure a plan just for this enrollment.
Step 9: Select a billing plan
Choose the plan for this student — each card shows the plan type and price (for example a Package of 10 sessions).
Click Next.
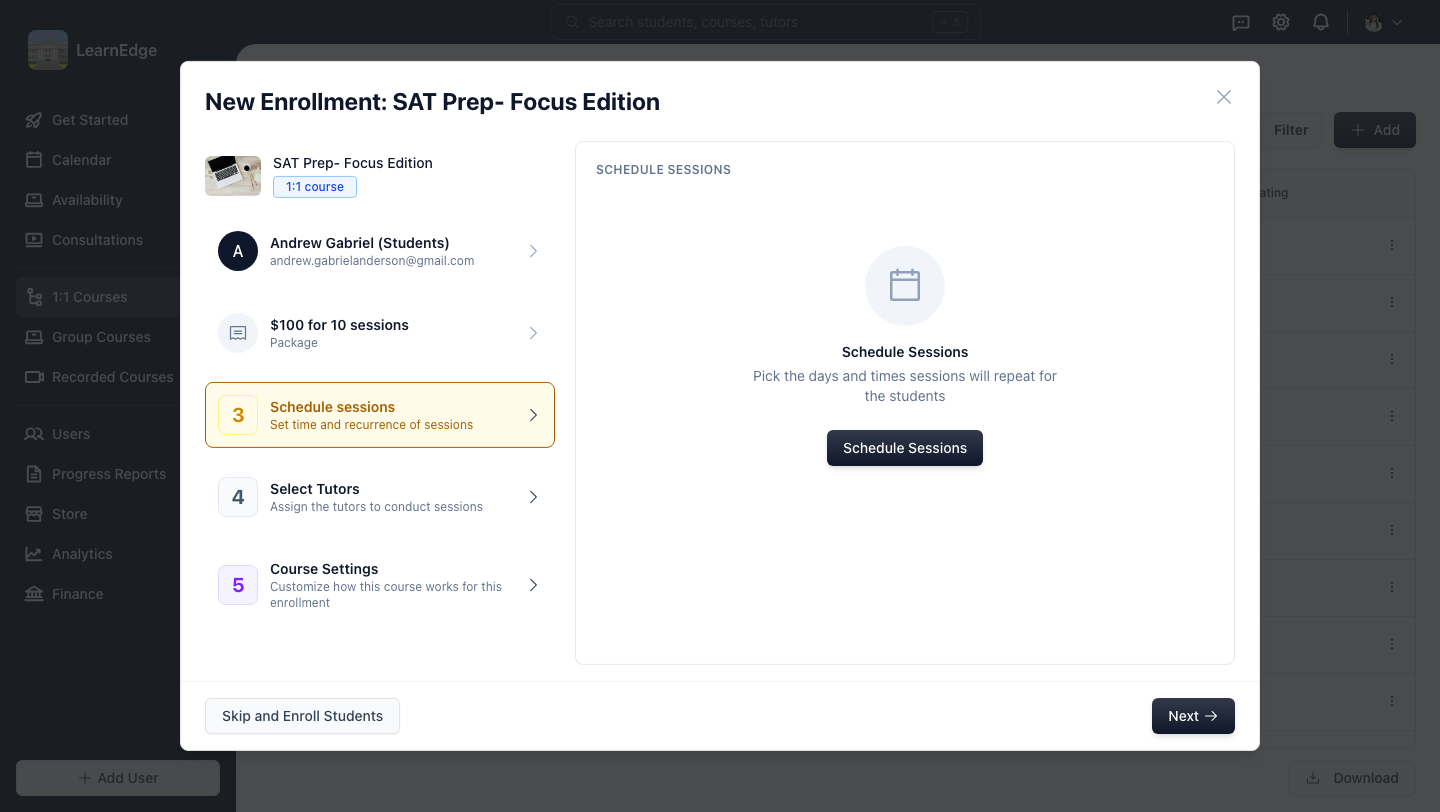
Step 10: Schedule sessions
Set the time and recurrence of the student's sessions.
Or leave scheduling for later.
Click Next.
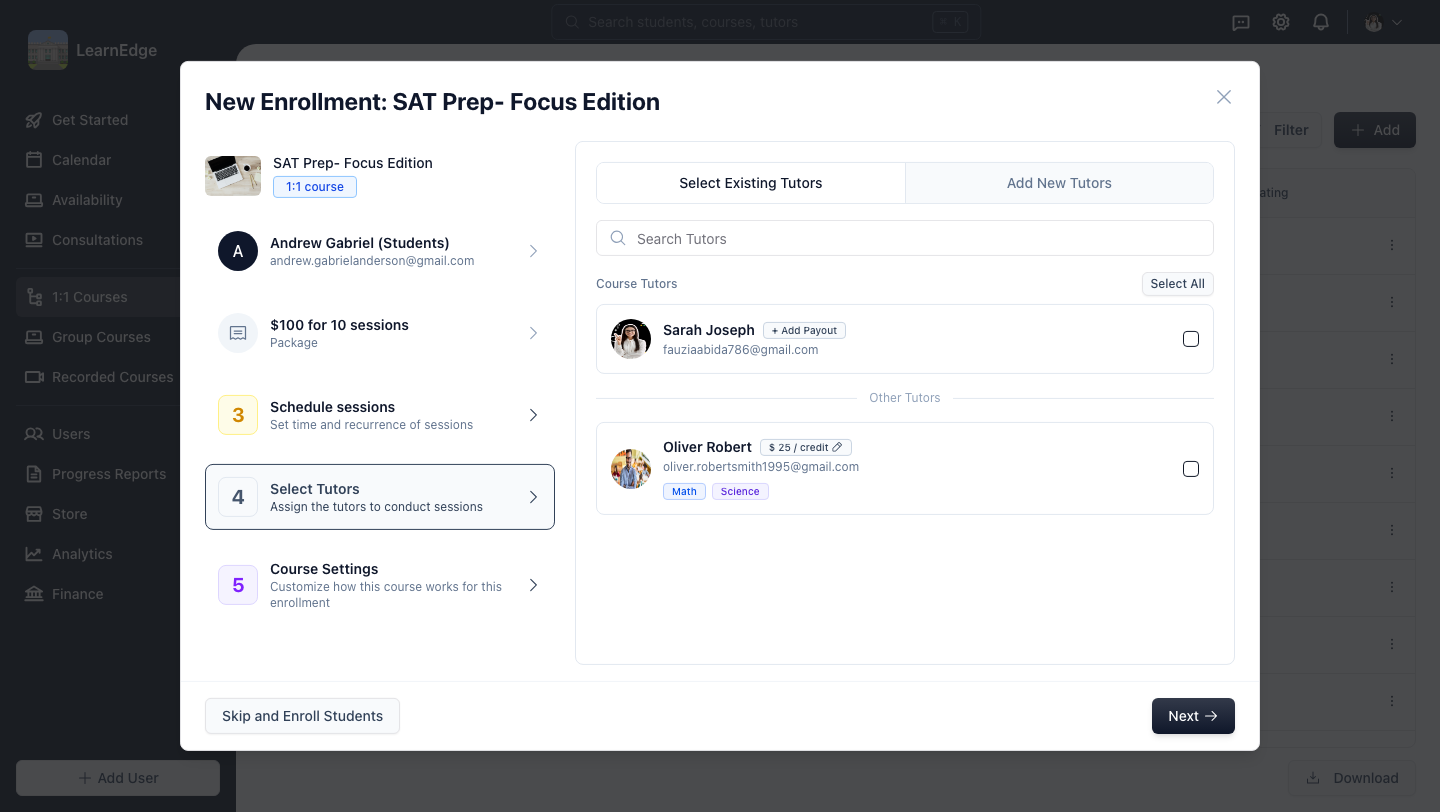
Step 11: Select tutors
Assign the tutor who will conduct the sessions for this enrollment.
Click Next.
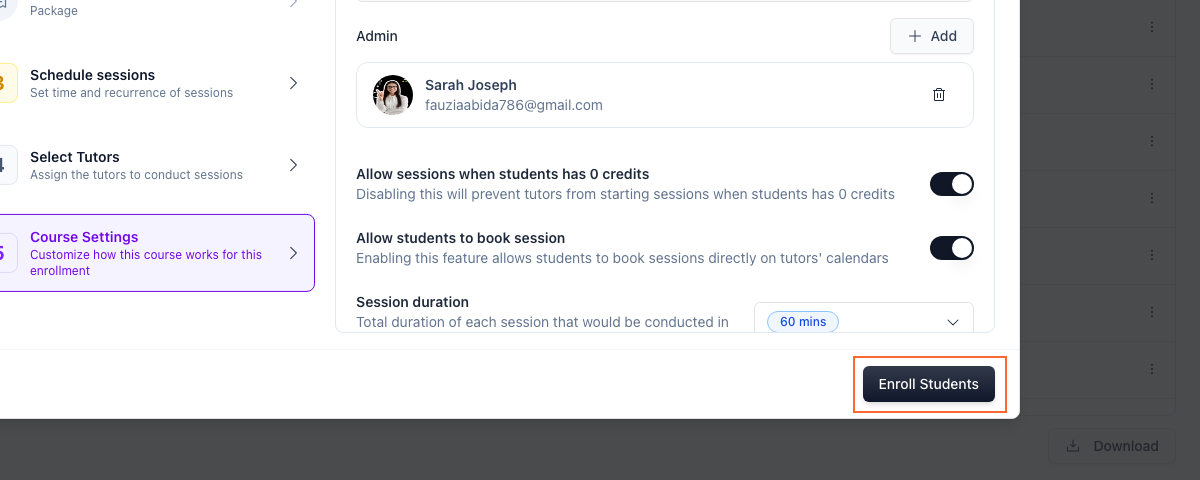
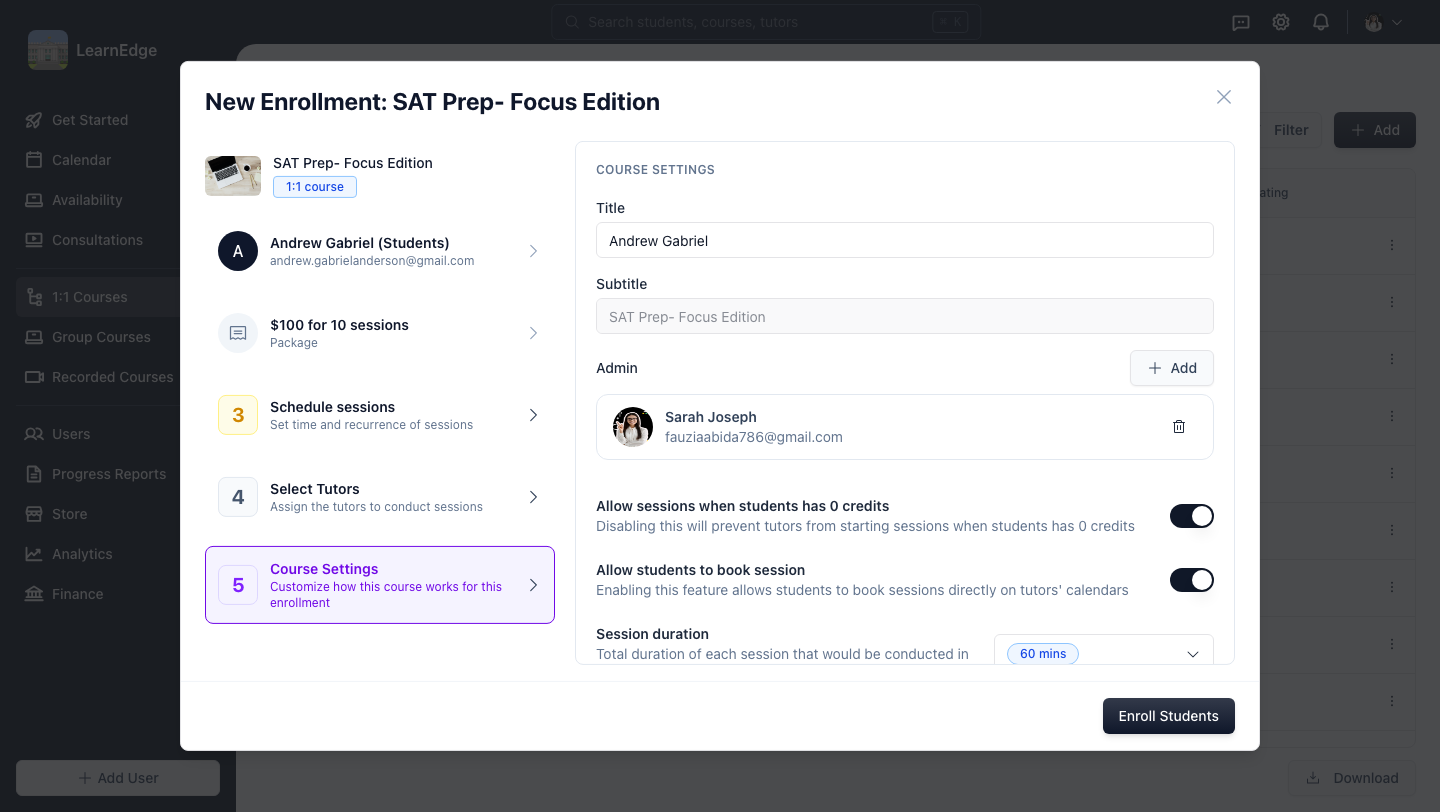
Step 12: Review Course Settings
Adjust the course title and admins for this enrollment.
Set the session duration.
Toggle settings like Allow students to book session.
Step 13: Enroll the student
Click Enroll Students to complete the enrollment.